Top Basketball Zero Zones: Best Zone and Style Combos Revealed
Author : Madison
May 06,2025
Understanding the Best *Basketball Zero* Zones and Style Combos
In the exciting world of *Basketball Zero*, your zone and style combo are crucial elements that define your gameplay. Mastering these can significantly enhance your performance on the virtual court. Below, we dive deep into the game's zones, presenting a detailed tier list and the most effective zone and style combinations to help you dominate the game.
All Basketball Zero Zones Ranked
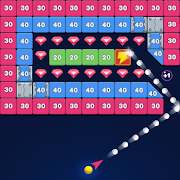
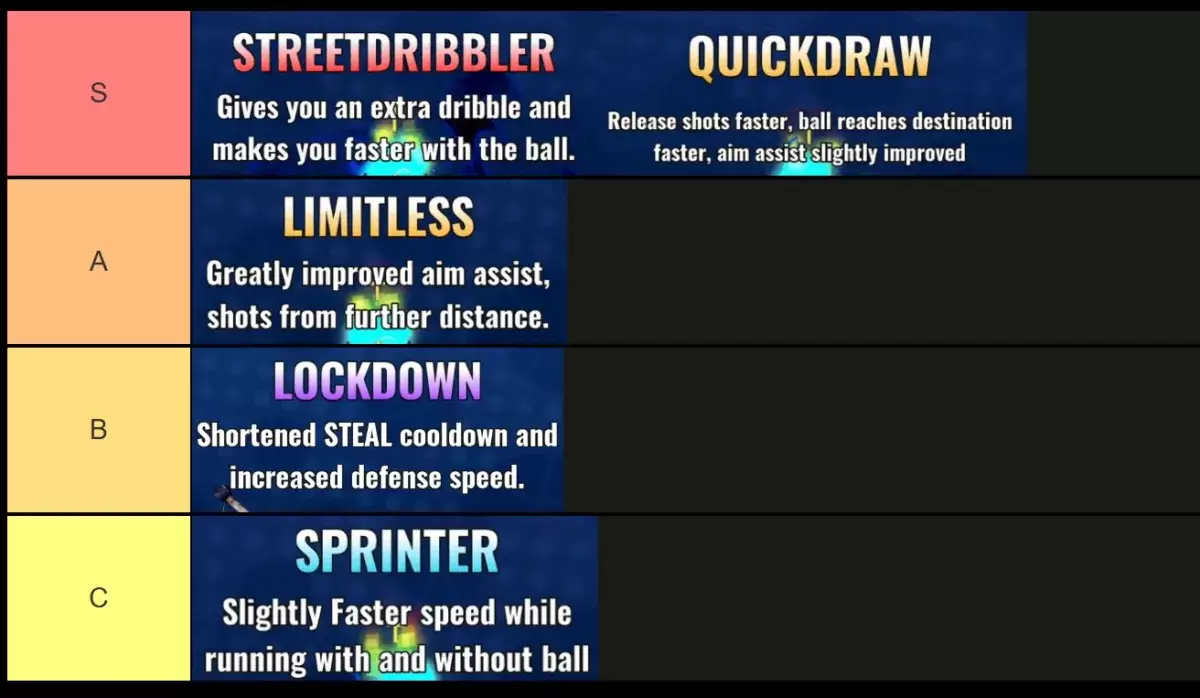 Image by The Escapist
When it comes to choosing the best zones in *Basketball Zero*, the top performers include **Street Dribbler**, **Quickdraw**, and **Limitless**, each excelling based on your chosen style. **Sprinter** holds potential to climb to A-Tier due to the critical importance of movement speed, but it currently requires a buff to reach that level. For now, **Sprinter** and **Lockdown** find themselves in the lower tiers. Let's explore the reasons behind these rankings, along with all the stats and the best style/zone combinations.
S-Tier Basketball Zero Zones
| Name | Rarity and Roll Chance | Effects | Ranking Reason | Best Style Combo |
| Street Dribbler | Mythic (0.5% or 5% Lucky Odds) | • Grants an extra dribble charge • Increases speed while carrying the ball | The extra dribble serves as a powerful defensive tool, while the increased speed with the ball allows for quicker drives to the basket, often saving those precious dribble charges. This makes **Street Dribbler** the top zone in *Basketball Zero*. | Star or Ace |
| Quickdraw | Legendary (2% or 45% Lucky Odds) | • Speeds up shot release • Increases speed of shots and passes • Provides slight aim assist | The ability to release shots faster makes them harder to block, while faster passes enhance team play. The added aim assist is particularly beneficial for players still mastering the shooting mechanics, cementing **Quickdraw** as the second-best zone. | Ace or Phantom |
A-Tier Basketball Zero Zones
| Name | Rarity and Roll Chance | Effects | Ranking Reason | Best Style Combo |
| Limitless | Legendary (2% or 45% Lucky Odds) | • Offers significant aim assist • Extends range on shots | The extended range on shots is a game-changer, and the aim assist is a boon for beginners. However, as players become more adept at the game's shooting mechanics, the need for aim assist diminishes, placing **Limitless** in the A-Tier. | Sniper or Ace |
B-Tier Basketball Zero Zones
| Name | Rarity and Roll Chance | Effects | Ranking Reason | Best Style Combo |
| Lockdown | Epic (35% or 50% Lucky Odds) | • Shortens ball steal cooldown • Boosts defense speed | This zone shines when paired with **Phantom** for frequent steals and quick passes to teammates, or with **Ace** or **Star** to carry the team. While not as impactful as the top tiers, **Lockdown** is still quite effective. | Phantom for Support, Ace or Star for Carrying |
C-Tier Basketball Zero Zones
| Name | Rarity and Roll Chance | Effects | Ranking Reason | Best Style Combo |
| Sprinter | Rare (62.5%) | • Slightly increases speed with and without the ball | While the potential to move faster is highly valuable, the current speed boost from **Sprinter** is not significant enough to rank higher. It could climb to B-Tier with enhancements, but for now, it remains in the C-Tier. | All Except Sniper |
That concludes our comprehensive *Basketball Zero* zones tier list. To further enhance your gameplay, don't forget to check out our *Basketball Zero* codes for free regular and lucky spins, which can help you land these zones and dominate the court!
Latest Articles
The Bazaar Pre-Orders Include Exclusive DLC
Discover everything you need to rise to the top within the vibrant and bustling stalls of The Bazaar. Learn how to pre-order, pricing details, and whether alternate editions and DLC are available.← Return to The Bazaar main articleThe Bazaar Pre-Orde

Pokémon Reality Show Focuses on TCG Action
Pokémon is spotlighting its passionate fanbase with an exciting new reality series! Discover everything about this innovative show and where to watch it.Catch Pokémon: Trainer Tour TodayA Celebration of the Pokémon TCG and its CommunityPokémon enthus
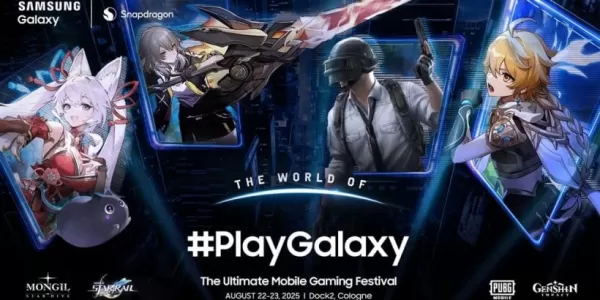
Star Dive to Showcase at Gamescom 2025
Mongil: Star Dive will feature a prominent hands-on demo station at Gamescom 2025Attendees can experience the game on both mobile and desktop platforms, including a new 3D gaming monitorA nearby event will offer additional hands-on opportunities and
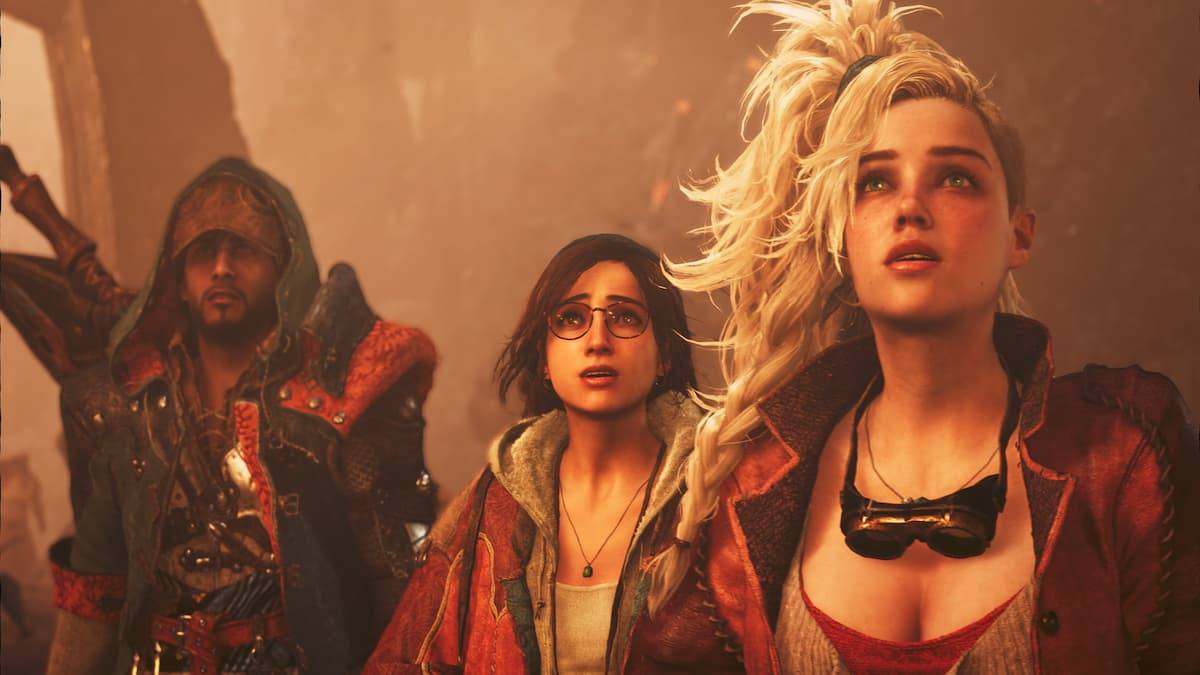
Esquie Plushie Releasing, Clair Obscur Warns of Scams
Among the many memorable characters in Clair Obscur: Expedition 33, few inspire as much pure joy as Esquie, the lovable giant companion who could easily serve as the game's official mascot. While the studio is alerting fans about fraudulent merchandi
How to Get Frenzy Shards & Frenzy Crystals in Monster Hunter Wilds
Even after you’ve rolled credits in *Monster Hunter Wilds*, there’s still plenty to see and do as you get into the High Rank content. Here’s how to get and use Frenzy Shards and Crystals in *Monster Hunter Wilds*.
Recommended Videos
Table of contents
Elden Ring Nightreign Raider Class Hands-On | IGN First
Elden Ring shines by offering diverse playstyles, and my personal favorite involves maxing out Strength,wielding colossal weapons, and demolishing enemies with devastating jumping attacks and charged heavy strikes. If this resonates with you, meet Ni
Latest Games


Double Slot Casino
Casino丨14.92MB

Legendary.io
Adventure丨978.0 MB
Bricks vs Balls Breaker
Puzzle丨28.10M

Бумажки
Simulation丨6.50M


Tales of Ashborn
Role Playing丨142.6 MB

Toca Boca World
Puzzle丨556.89M
Trending Games
MORE +


![Salvation in Nightmare [v0.4.4]](https://imgs.21qcq.com/uploads/36/1719555347667e551321c26.jpg)
Top News
MORE +
01
03-28
Top Streaming Platforms for Live Sports in 2025
Gone are the days when watching sports was as simple as turning on your TV and tuning into the big game. Today, the landscape of sports streaming has become a complex web of regional blackouts, paywalls, and exclusive rights that can leave fans feeling lost. With numerous streaming services vying fo
02
12-25
Vienna Opera Delight: Reverse 1.99 Update
Reverse: 1999 Version 1.7 Update: A Viennese Adventure Awaits!
Bluepoch Games' Reverse: 1999 is taking players on a trip back in time with its latest update, Version 1.7, launching players into the captivating world of early 20th-century Vienna in the new "E Lucevan Le Stelle" event. This update del
03
11-13
Black Myth: Wukong Review Impresses Amid Guideline Debate
After four long years of waiting since its first announcement in 2020, the verdict is in for Black Myth: Wukong! Read more to learn more about the details and what other reviewers thought about the game.Black Myth: Wukong Is Almost HereBut Only On PCEver since its first trailer back in 2020, Black M
04
01-23
“Descenders” Codes Unlock January 2025 Content
Descenders: A Thrilling Bike Racing Game with Active Codes!
Descenders delivers exhilarating bike racing action and boasts impressive reviews. Explore diverse locations, perform daring stunts, and choose from a wide variety of bikes and gear. Realistic bike physics make riding and pulling off tric
05
02-02
Roblox Grace Commands Guide Released
Grace Roblox Game Commands: A Comprehensive Guide
Grace is a challenging Roblox experience featuring terrifying entities and demanding levels. To aid players, especially during testing, a set of in-game commands is available on test servers. This guide details all commands and their usage.
All Grac