Updated Kraken Guide: Full Dead Sails Strategy
Author : Owen
May 02,2025
If you enjoyed the thrilling adventure of Dead Rails on Sails, you're in for a treat with the latest update, despite its challenging elements. Mastering the Seven Seas and defeating the formidable Kraken might seem daunting, but fear not. This comprehensive Dead Sails Kraken Guide is here to navigate you through the new content, enhance your gameplay, and ensure you have a blast.
Recommended Videos
Table of Contents
- Dead Sails Kraken Boss Guide
- Dead Sails Kraken Tips and Tricks
- How to Defeat the Kraken Boss in Dead Sails
Dead Sails Kraken Boss Guide
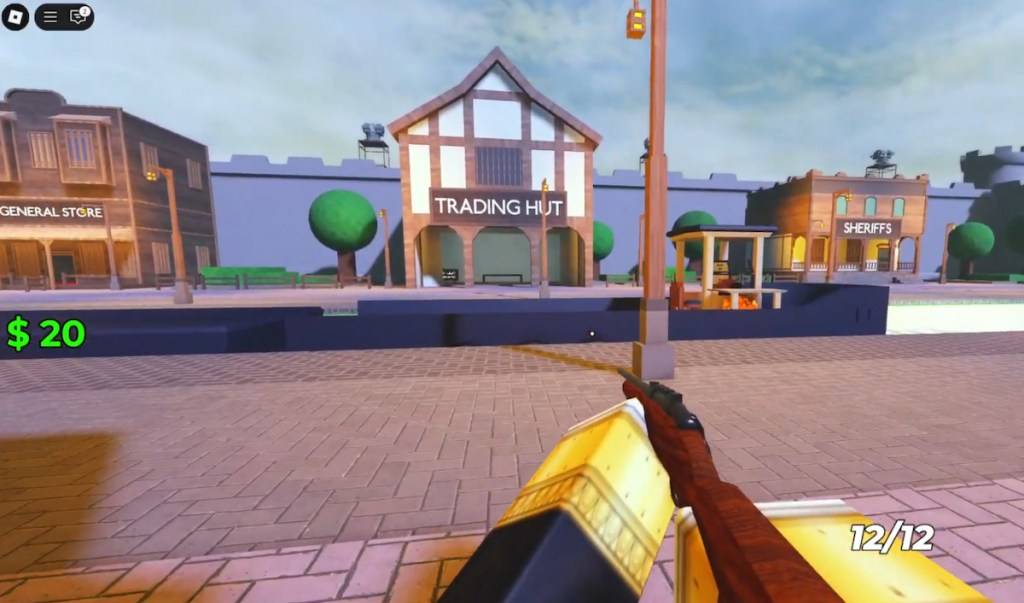
Your journey begins in the heart of town, right across from the Gun Store and Hospital, and in front of the Trading Hut. Before setting sail, it's crucial to lighten your load and gear up. I recommend picking up a Rifle for $75; it's a cost-effective choice that packs enough punch to fend off enemies temporarily. Don't forget to stock up on coal to power your boat's old-school engine.
 Screenshot by Destructoid
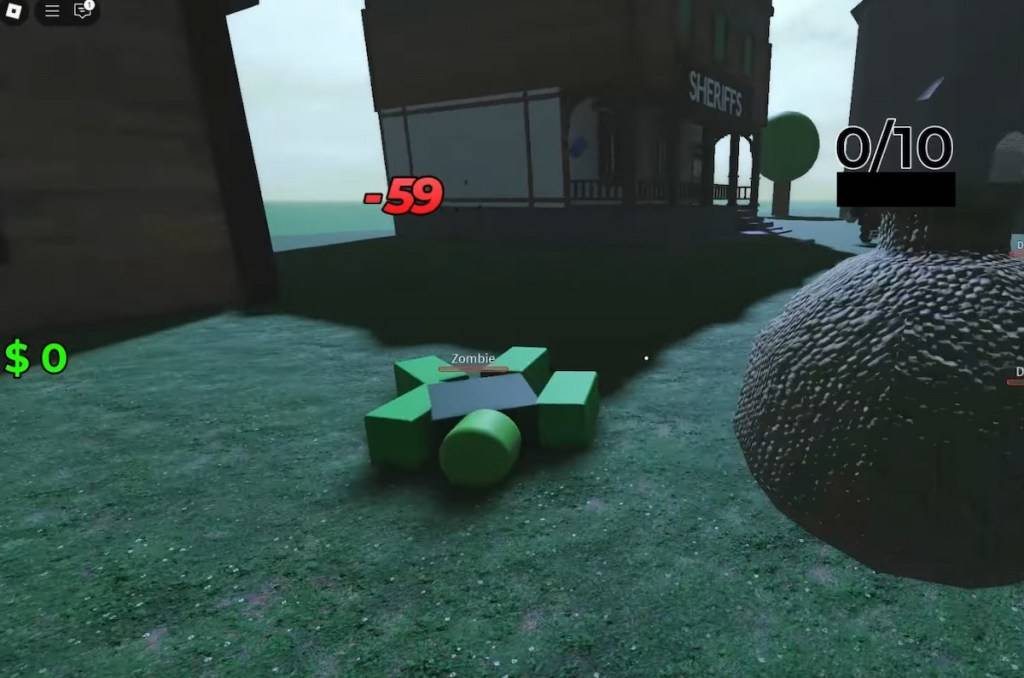
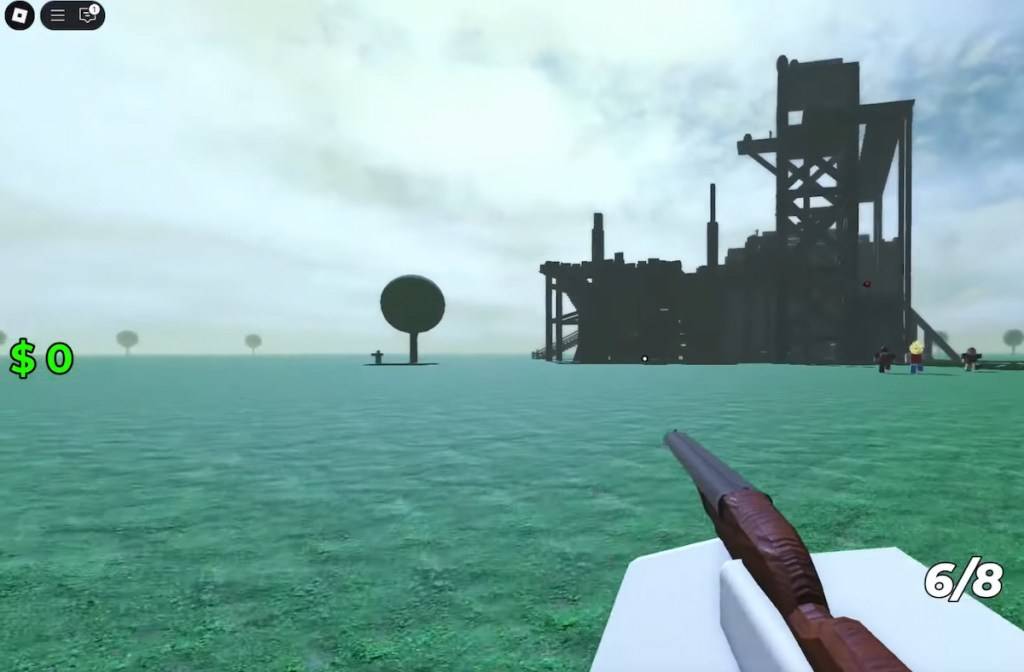
The next town is a distant 10,000 meters away. Start your boat and embark on your journey. While you can stop to engage and loot Zombies and Drowned, it's not always worth it due to the sparse valuables in roadside houses. To restart the ship, simply add more coal. Be cautious of the worm on the right side, but hold onto your loot until you reach the second safe zone, where you can sell it safely. Watch out for Big Foot and Zombie mobs along the riverbanks.
 Screenshot by Destructoid
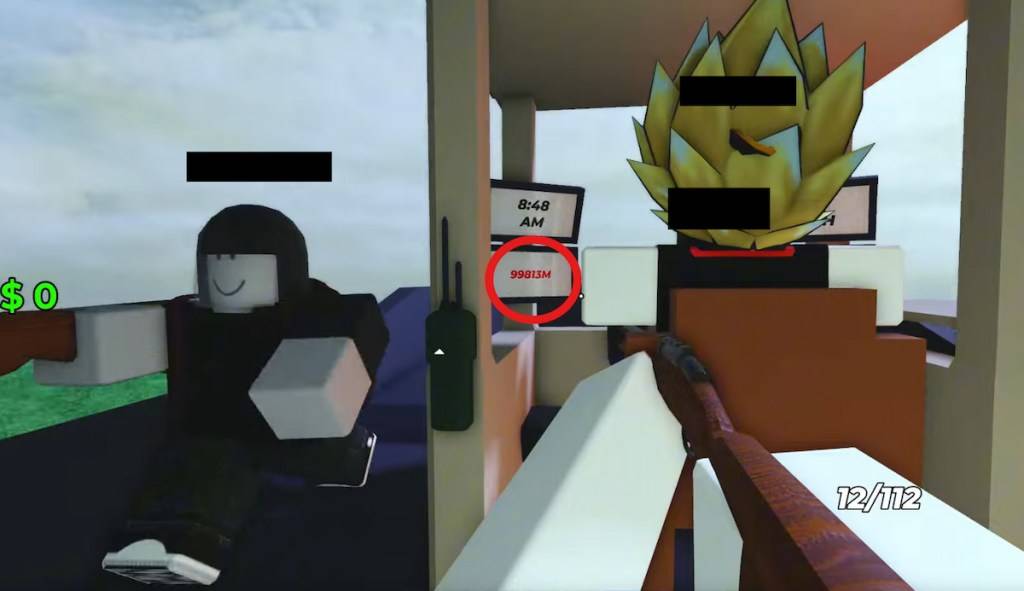
After passing the second safe zone, you'll encounter burning buildings teeming with mobs. Clear them out if you're with friends; otherwise, it's not worth the time due to the scattered spawn points. At around 12,000 meters, you'll find a castle-like house filled with Drowned and valuable loot like Shotgun ammo. Use it wisely.
 Screenshot by Destructoid
Dead Sails Kraken Tips and Tricks
The core gameplay loop is simple: kill, loot, repeat and hope the enemy suffers defeat. To excel, focus on efficiency by using your boat as your primary inventory. Clear your bag whenever you return to the boat to save space and time.
 Screenshot by Destructoid
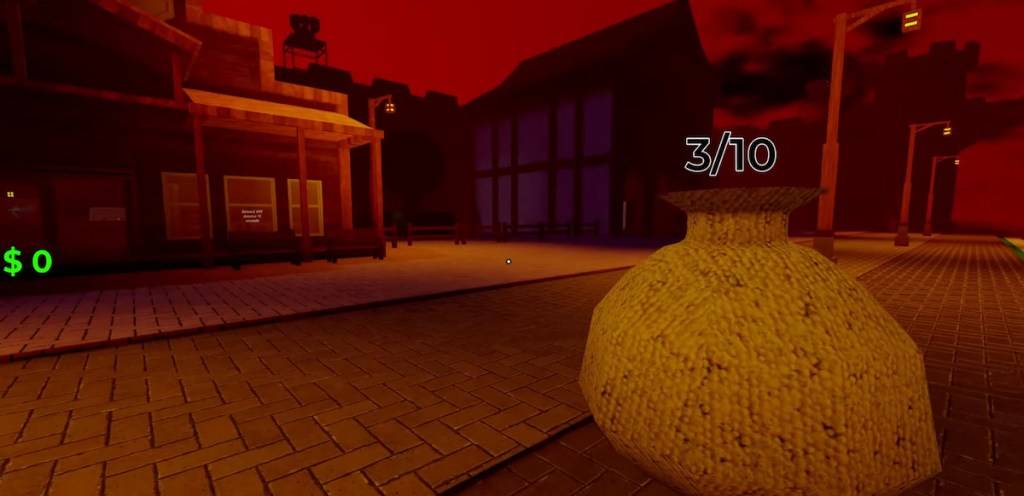
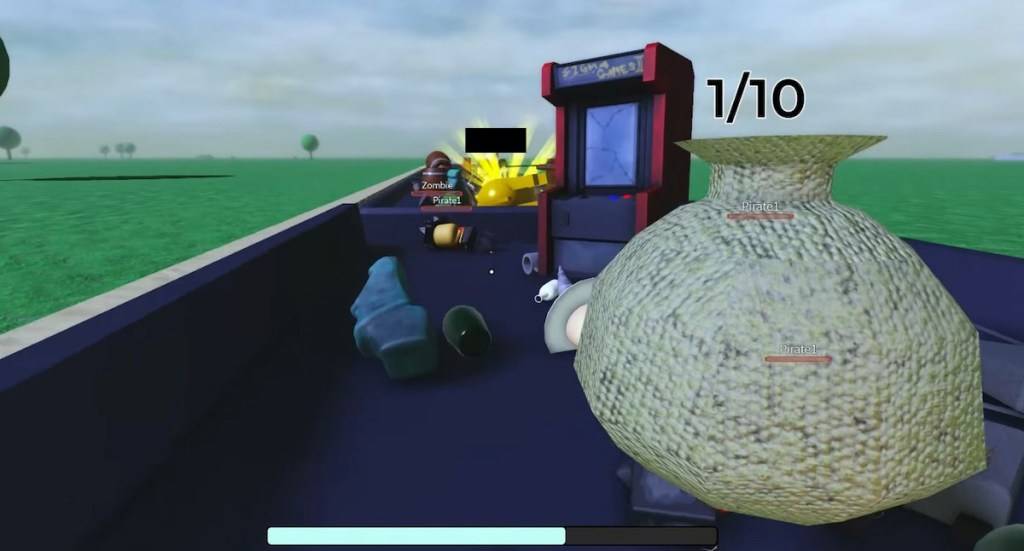
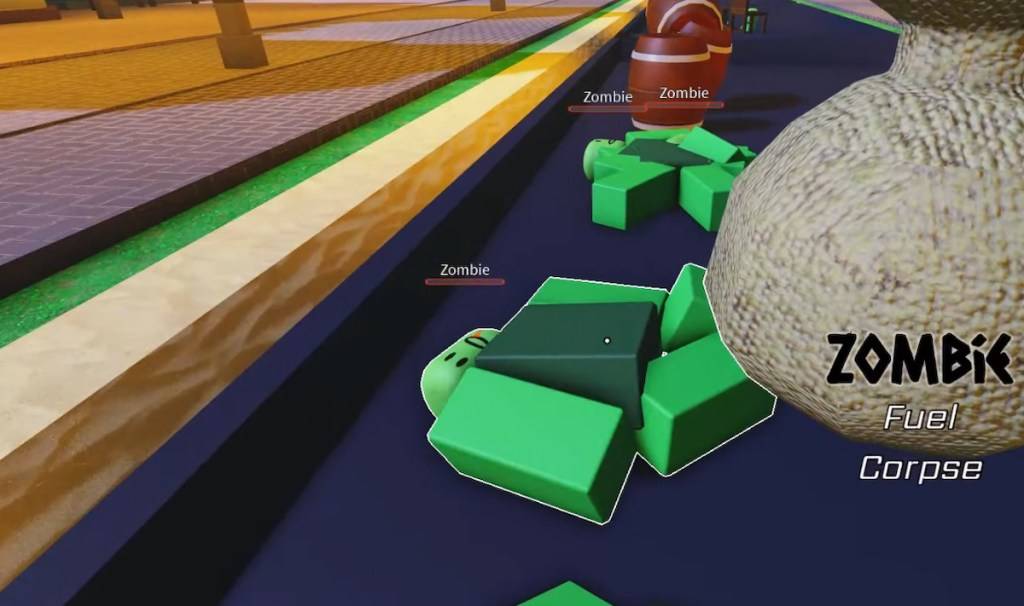
A helpful strategy is to stack Zombies near the incinerator. While it's tempting to rush out of those backwater towns, efficient loot stacking can be a game-changer. Running low on fuel? Toss a few Zombies into the incinerator for a quick boost.
 Screenshot by Destructoid
Keep an eye on the Sheriff's offices, as they often house a high concentration of mobs, but also offer significant rewards in weapons and ammo. I managed to sustain my shotgun's ammunition by having a teammate clear the ground floor as we explored each town.
 Screenshot by Destructoid
Save your ammo, weapons, fuel, and medkits for the fortress at around 25,000 meters. This construction zone is rife with ambushes, so bring at least three friends, with five being ideal. Be efficient in collecting loot here.
 Screenshot by Destructoid
Avoid engaging Big Feet after 30,000 meters; they're incredibly tough and consume a lot of ammo. Plan your stops carefully and remember that loot isn't everything.
The town after 50,000 meters is a prime farming spot, with at least two dozen Drowned and Zombies. It's an efficient way to gather corpses for fuel, so coordinate with your team to prepare the bodies for loading quickly.
How to Defeat the Kraken Boss in Dead Sails
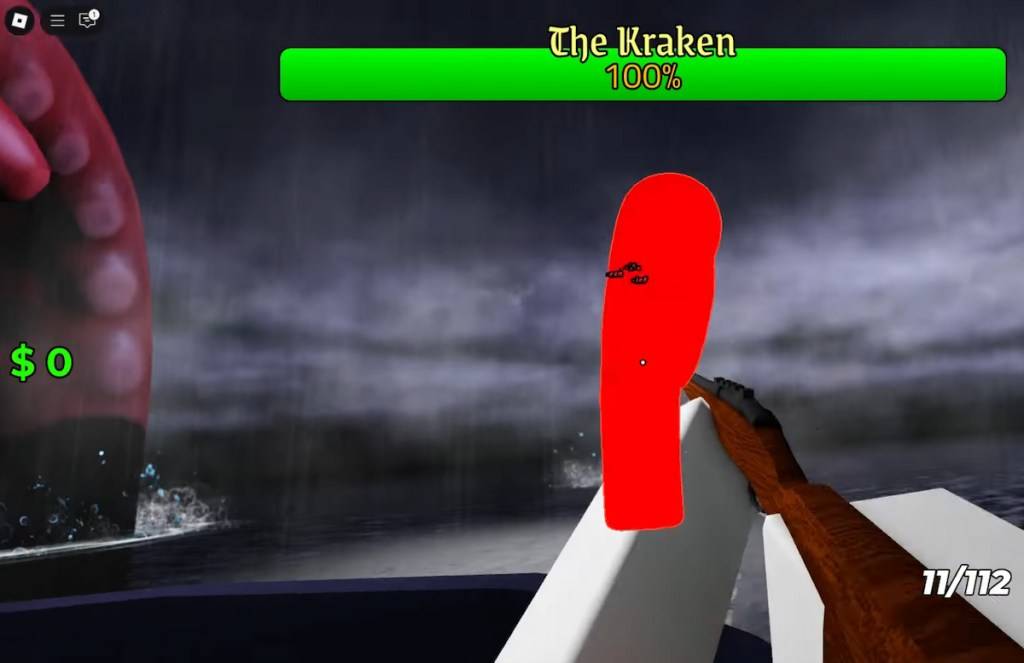
Before facing the Kraken, sell all your excess items in the final safe zone and stock up on ammo, weapons, and medkits. Don't underestimate the Zombies and Drowned; aim to have at least 8-10 corpses as fuel for the final stretch. As you approach 100,000 meters, you'll enter open waters, signaling the imminent arrival of the Kraken. The skies will darken, and the camera will zoom out as the beast emerges.
 Screenshot by Destructoid
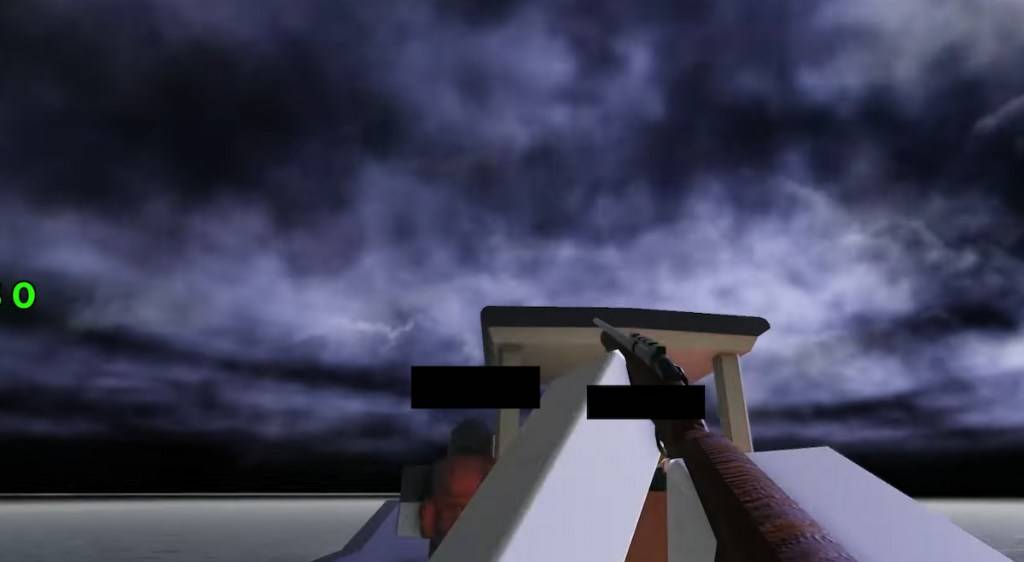 Screenshot by Destructoid
Each player must target a tentacle, as the Kraken has substantial health and each tentacle can deal damage if not countered effectively. With five players, form a pentagram-like formation and tackle your assigned tentacle.
 Screenshot by Destructoid
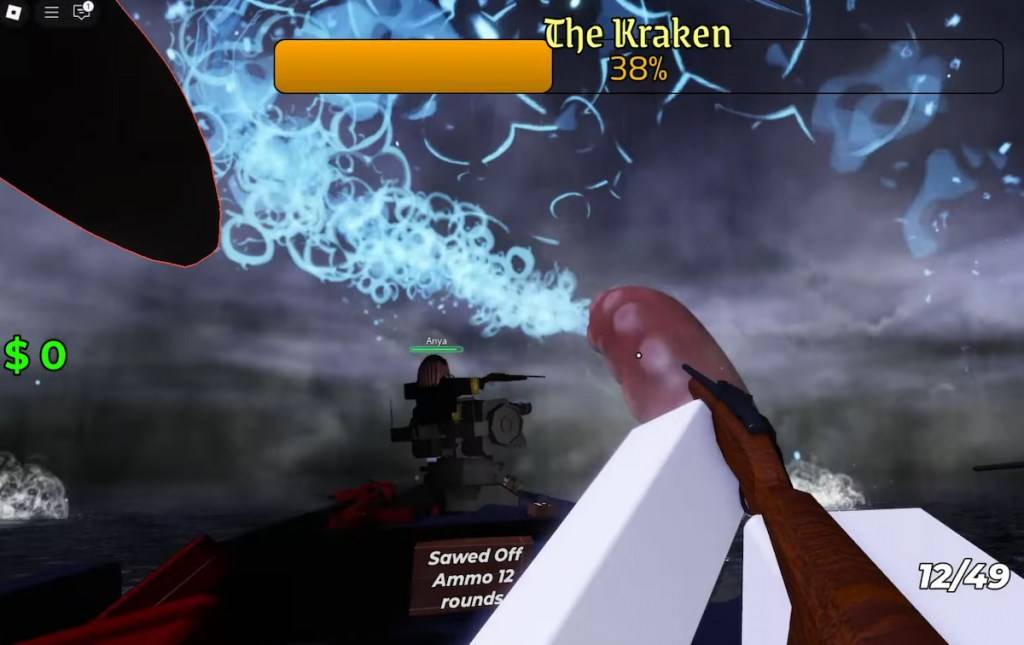
Be cautious of the Kraken's water splash attack, which causes area-of-effect damage. It's telegraphed by the Kraken winding back and creating a water trail with its tentacle. Use medkits liberally to mitigate damage.
 Screenshot by Destructoid
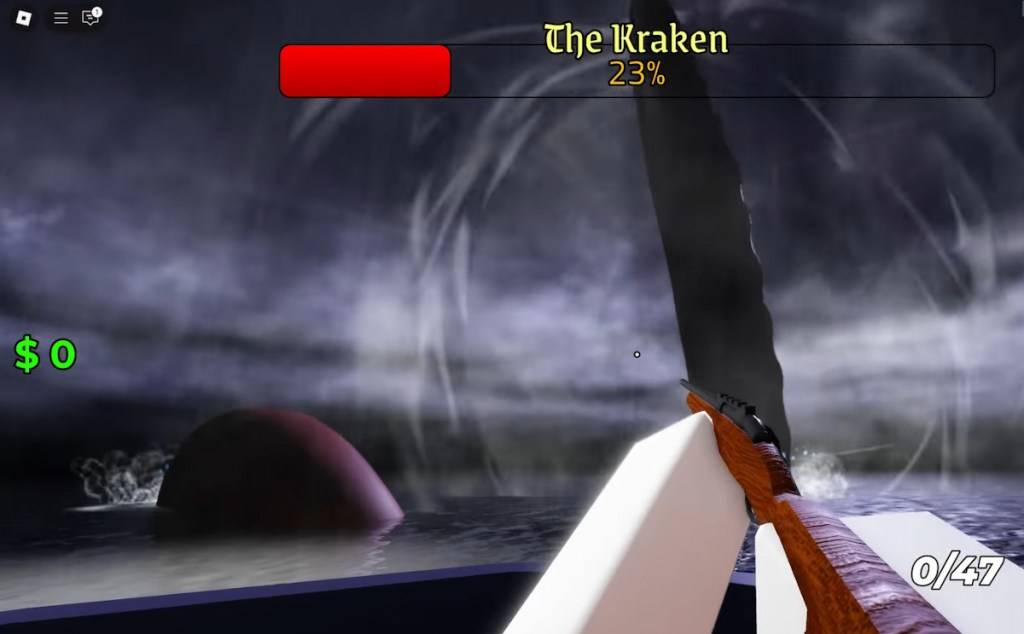
Lastly, watch out for the Roar AoE, which deals minor unblockable damage and may slightly boost the boss's damage. You'll see it coming from the white concentric circles emanating from the tentacle that used the ability.
 Screenshot by Destructoid
As you can see, while the challenge might seem formidable, it's manageable with the right strategy. That concludes my Dead Sails Kraken Guide. To speed up your progress even further, consider using our Dead Sails codes. Best of luck, and may your sails be ever smooth!
Latest Articles
Esquie Plushie Releasing, Clair Obscur Warns of Scams
Among the many memorable characters in Clair Obscur: Expedition 33, few inspire as much pure joy as Esquie, the lovable giant companion who could easily serve as the game's official mascot. While the studio is alerting fans about fraudulent merchandi

How to Get Frenzy Shards & Frenzy Crystals in Monster Hunter Wilds
Even after you’ve rolled credits in *Monster Hunter Wilds*, there’s still plenty to see and do as you get into the High Rank content. Here’s how to get and use Frenzy Shards and Crystals in *Monster Hunter Wilds*.
Recommended Videos
Table of contents
Elden Ring Nightreign Raider Class Hands-On | IGN First
Elden Ring shines by offering diverse playstyles, and my personal favorite involves maxing out Strength,wielding colossal weapons, and demolishing enemies with devastating jumping attacks and charged heavy strikes. If this resonates with you, meet Ni
South Park Creators Trey Parker and Matt Stone Reportedly Enlist the Services of a 'Bulldog Negotiator' as Row Over Reported $3 Billion Deal Threatens Season 27 Release Date
The planned premiere of South Park Season 27 is now in jeopardy as series creators Trey Parker and Matt Stone, Paramount Global, and new studio owner Skydance clash over a proposed $3 billion deal.
Earlier this month, Parker and Stone voiced their fr
Alien: Earth Trailer Reveals Xenomorph, Nods to Scott's Original
The latest trailer for Alien: Earth has surfaced online, giving fans their most detailed glimpse yet of the highly anticipated TV series.Shared by @CineGeekNews on X/Twitter, this special preview debuted at Disney's 2025 Shareholder Meeting. It follo
LEGO Legend of Zelda: Ocarina of Time Final Battle Set Leaks, Features Link and Zelda Fighting Ganon
LEGO's upcoming The Legend of Zelda: Ocarina of Time set, showcasing Link and Zelda’s epic final showdown with Ganon, has surfaced online with pricing and release information.
The Final Battle will be a 1,003-piece model launching on March 1, accordi
Latest Games

Veneno Drift Simulator
Racing丨61.83MB

Stick War: Legacy
Strategy丨151.02 MB

Just Dance Now
Music丨127.48MB

Bayraktar and Stugna
Action丨65.57MB


Zombie Rush
Arcade丨19.75MB

Casino Land Mod
Puzzle丨70.00M

ZomBees - Shooter
Casual丨117.5 MB
Trending Games
MORE +


![Salvation in Nightmare [v0.4.4]](https://imgs.21qcq.com/uploads/36/1719555347667e551321c26.jpg)
Top News
MORE +
01
03-28
Top Streaming Platforms for Live Sports in 2025
Gone are the days when watching sports was as simple as turning on your TV and tuning into the big game. Today, the landscape of sports streaming has become a complex web of regional blackouts, paywalls, and exclusive rights that can leave fans feeling lost. With numerous streaming services vying fo
02
12-25
Vienna Opera Delight: Reverse 1.99 Update
Reverse: 1999 Version 1.7 Update: A Viennese Adventure Awaits!
Bluepoch Games' Reverse: 1999 is taking players on a trip back in time with its latest update, Version 1.7, launching players into the captivating world of early 20th-century Vienna in the new "E Lucevan Le Stelle" event. This update del
03
11-13
Black Myth: Wukong Review Impresses Amid Guideline Debate
After four long years of waiting since its first announcement in 2020, the verdict is in for Black Myth: Wukong! Read more to learn more about the details and what other reviewers thought about the game.Black Myth: Wukong Is Almost HereBut Only On PCEver since its first trailer back in 2020, Black M
04
01-23
“Descenders” Codes Unlock January 2025 Content
Descenders: A Thrilling Bike Racing Game with Active Codes!
Descenders delivers exhilarating bike racing action and boasts impressive reviews. Explore diverse locations, perform daring stunts, and choose from a wide variety of bikes and gear. Realistic bike physics make riding and pulling off tric
05
02-02
Roblox Grace Commands Guide Released
Grace Roblox Game Commands: A Comprehensive Guide
Grace is a challenging Roblox experience featuring terrifying entities and demanding levels. To aid players, especially during testing, a set of in-game commands is available on test servers. This guide details all commands and their usage.
All Grac